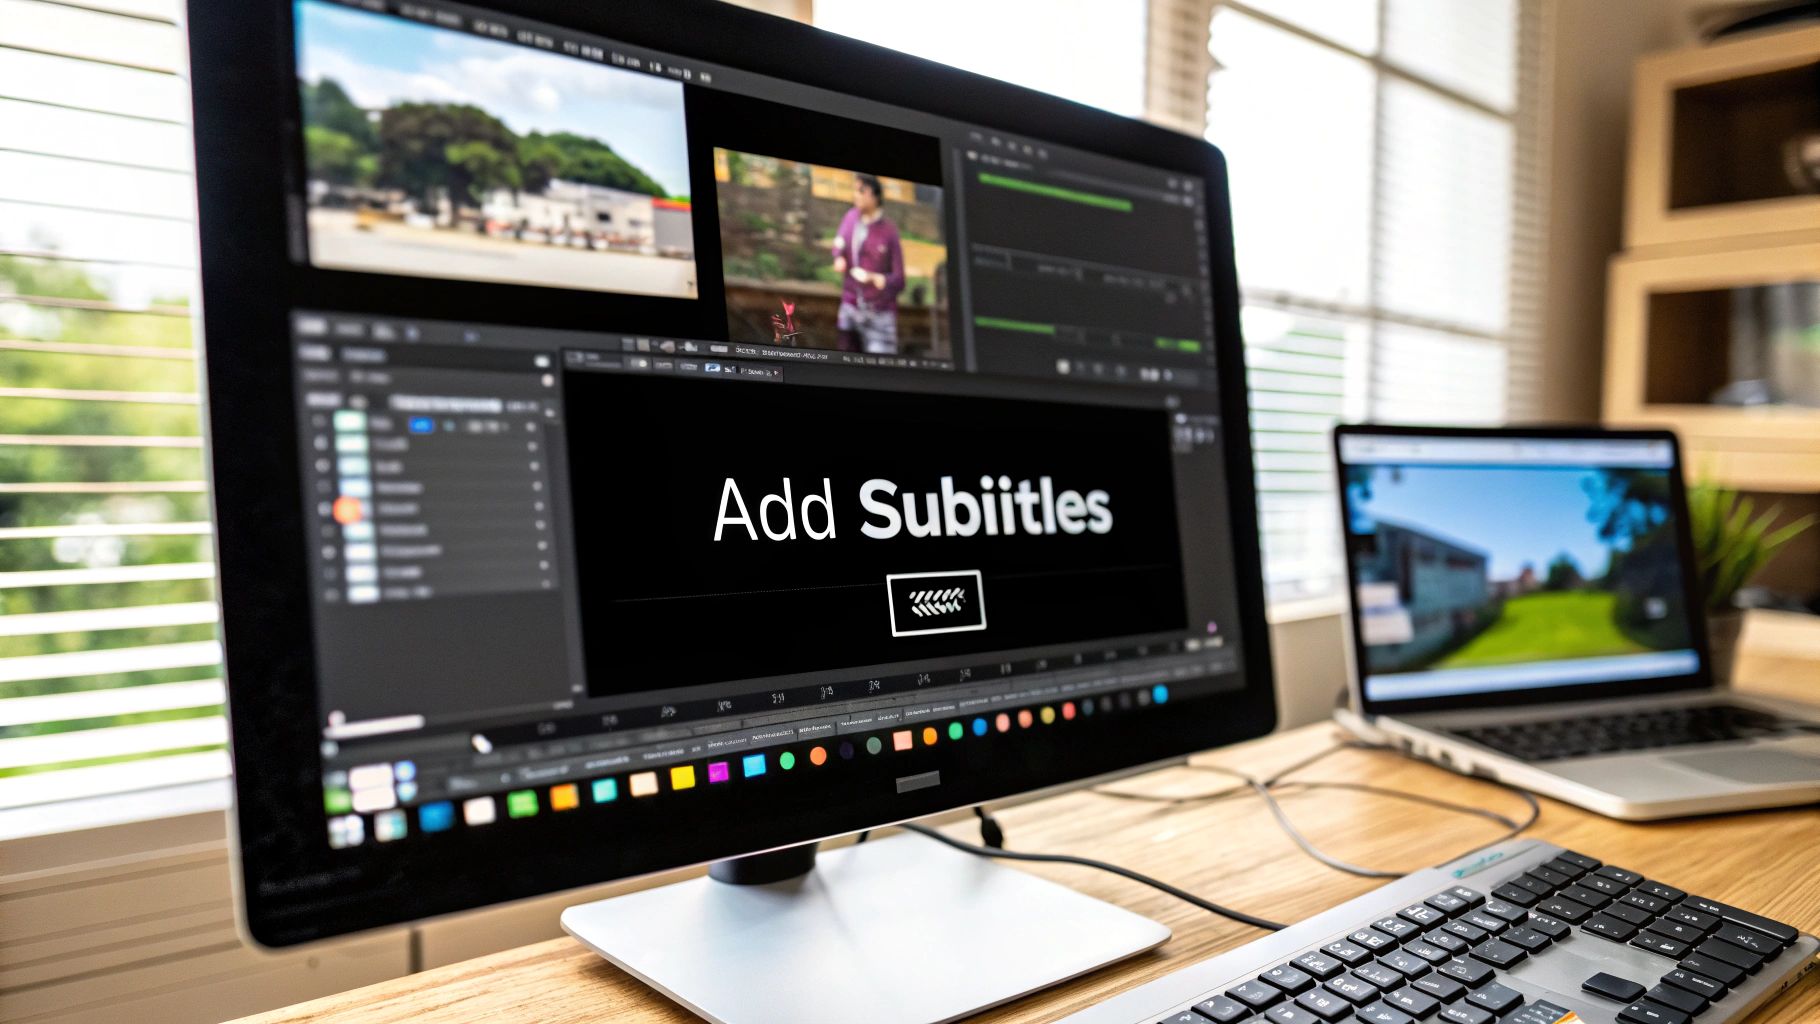
So, you need to add subtitles to your video. You’ve really got three main paths you can take.
You could use an AI service like MeowTxt to whip up an SRT file for you. Or, you could go the old-school route and manually add captions inside your video editing software. The third option is simply uploading a finished subtitle file directly to a platform like YouTube.
If you're looking for the fastest way to get it done, generating an SRT file and pairing it with your MP4 is definitely the most direct approach. With MeowTxt, users can convert their video into SRT (the most common subtitle format) and then easily import it into their video file.
Why Adding Subtitles Is a Modern Necessity
Let's be real—in today's world, subtitles aren't just a "nice-to-have." They’re a flat-out requirement if you want your content to perform.
Just think about your own habits. How often do you find yourself watching videos with the sound off? Maybe you're scrolling through your phone in a quiet office, a noisy café, or on your daily commute. Without subtitles, the entire message is lost. This massive shift in how we watch video has made captions an essential hook.
This isn't just about ticking an accessibility box anymore, though that's incredibly important. It's about delivering a polished, professional experience that shows you respect your audience and how they actually consume content.
The Numbers Don't Lie
This push towards subtitled video isn't just a gut feeling; it’s a huge market trend. The global subtitle market hit a value of about USD 0.317 billion in 2024. And it’s not slowing down.
Projections show it’s on track to more than double, reaching USD 0.76 billion by 2033. This explosion is fueled by our endless appetite for content on streaming services and social media. You can dig into the market data yourself to see how localization is a key driver here.
The takeaway is simple: viewers now expect subtitles. Giving them what they want is a no-brainer.
More Than Just Words on a Screen
Beyond silent viewing, captions pack some serious punches that boost your video’s performance and keep your audience happy.
- Better Understanding: Subtitles reinforce what you’re saying. This is a huge help for viewers trying to grasp complex topics or technical jargon, making sure your message actually sticks.
- Juicing Your SEO: Search engines can't watch your video, but they can absolutely read text. Your subtitle file acts as a full transcript, giving Google a ton of keywords to index and rank.
- Keeps People Watching: Captions are magnets for attention. On platforms that autoplay videos on mute (looking at you, social media), subtitles are often the only thing stopping someone from scrolling right past.
Honestly, if you’re not using subtitles, you’re putting up a wall between your content and a huge chunk of your audience. It's such a small addition, but the payoff in accessibility and engagement is massive.
Getting to Grips with the SRT Subtitle File
Before you can add subtitles to a video, you first need to get familiar with the file format you'll be working with. The undisputed champion here is the SRT file, which is short for SubRip Subtitle file. It's the standard format used to add SRT to MP4 and other video types.
Think of it as the master key for subtitles. It works on just about every video player, social media platform, and editing software out there. Its real power is its beautiful simplicity. At its core, an SRT file is just plain text. You can literally open and edit one in a basic program like Notepad or TextEdit, which is a big reason it became the industry standard.

The image above gives you a peek under the hood. You can see how an SRT file is built: a number for the sequence, a super-precise timecode, and the subtitle text itself. This clean, human-readable structure makes it incredibly easy to work with, even if you're not a tech whiz.
Understanding the SRT Structure
Let's break down what you're actually looking at inside an SRT file. Every single subtitle follows a simple, four-part recipe:
- A Sequence Number: This just tells the player which order to show the subtitles in (1, 2, 3, etc.). Simple.
- The Timecode: This is the most important part. It tells the player the exact start and end time for the subtitle, right down to the millisecond. The format is always
hours:minutes:seconds,milliseconds --> hours:minutes:seconds,milliseconds. - The Subtitle Text: This is the actual text your viewers will read on screen. It can be one or two lines long, but it's best to keep it concise.
- A Blank Line: A single blank line acts as a separator, telling the player that one subtitle entry has ended and the next one is about to begin.
Here’s what a single entry looks like in practice:
15 00:01:25,340 --> 00:01:27,900 This is how you add an SRT file to your MP4.
This snippet tells the video player to display that specific sentence starting at 1 minute and 25.340 seconds, then hide it at 1 minute and 27.900 seconds. While you could technically type this all out by hand, it would be incredibly tedious. A video caption generator like MeowTxt handles all this for you automatically, spitting out a perfectly formatted file that's ready to go.
Why Not Other Formats?
SRT is king, but you might bump into other formats now and then. The most common alternative is VTT (or WebVTT), which is popular for videos embedded directly on websites using HTML5.
VTT files have a few more bells and whistles—they let you do things like change text color or position it on the screen. But for most creators, SRT's universal compatibility is what really matters. It just works, everywhere. Honestly, knowing how to add an SRT file to an MP4 is probably the single most useful skill you can have for making your videos more accessible and engaging.
Let's be honest: manually transcribing a video is a soul-crushing task. It can easily eat up hours of your day, turning a simple post-production step into a massive bottleneck.
Thankfully, you don't have to do that anymore. Modern AI tools have completely changed the game. What used to be a tedious chore is now a quick, almost effortless step. This is where an AI subtitle generator becomes your best friend.
Services like MeowTxt let you drop in a video file and get a highly accurate SRT file back in just a few minutes. The biggest win is obviously the time you save, but the accuracy is genuinely impressive. These AIs can handle tricky accents, background noise, and even technical jargon with surprising skill.
This completely transforms how you add captions to a video, making it a realistic option for any creator, regardless of budget. It's the fastest path from a finished video to a polished, professional SRT file ready for any platform.
The whole process is refreshingly simple. No complex software or steep learning curves.
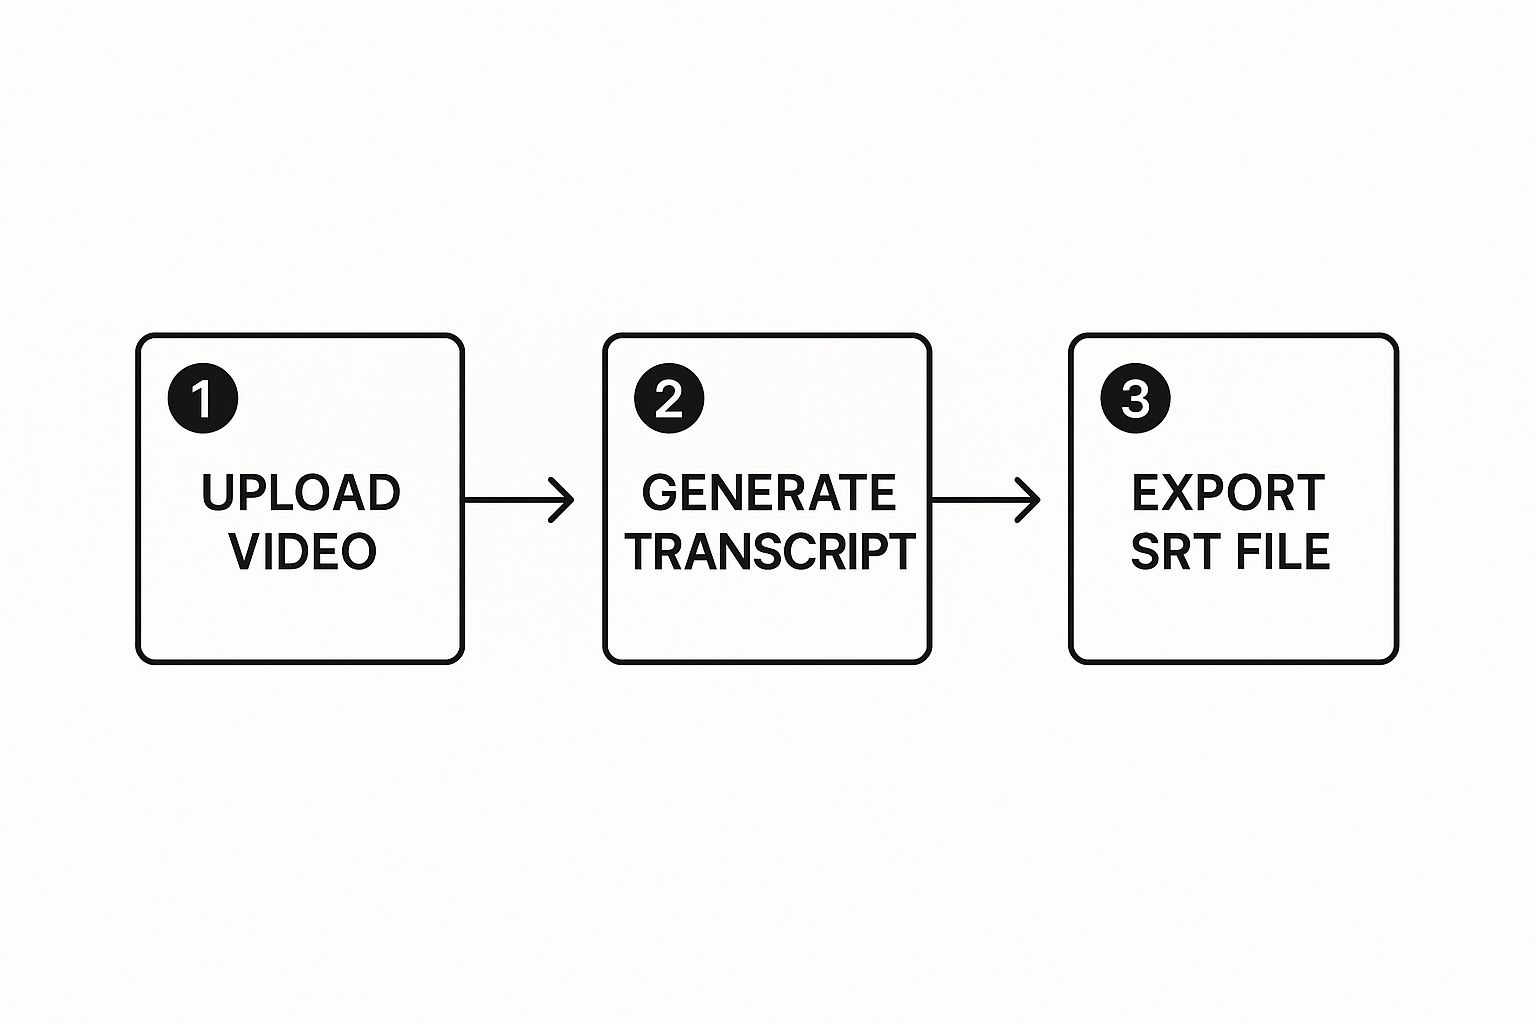
This upload-generate-export workflow is what makes these tools so powerful. You're completely skipping the manual labor of typing and timing every single line of dialogue.
The AI Advantage: Speed and Accuracy
The technology behind this isn't just a gimmick; it's a major leap forward. The evolution of real-time subtitling shows just how much speech-to-text has improved. Powered by sophisticated machine learning models, modern transcription engines are now incredibly accurate and lightning-fast.
What does this actually mean for you? It means you get to focus on creating great content instead of getting bogged down in tedious post-production chores. You can convert your video to text with an online tool and move on to your next project.
Before you dive in, it helps to understand the different ways you can create subtitles and where AI fits in.
Subtitle Creation Methods Compared
| Method | Average Speed | Typical Cost | Best For |
|---|---|---|---|
| Manual Transcription | Very slow (4-8x video length) | Free (if your time is) | Short clips, perfect accuracy control. |
| AI Generator | Very fast (minutes) | Low (or free) | Most creators, quick turnarounds, high volume. |
| Human Service | Slow (24-48 hours) | High ($1.50+/min) | Broadcast-quality, legal/medical content. |
As you can see, AI generators hit the sweet spot of speed, cost, and quality for the vast majority of video projects.
The Human Touch: A Crucial Final Step
As powerful as AI is, it isn't flawless. It can sometimes misspell unique names, get tripped up by industry-specific acronyms, or miss the nuance when people talk over each other.
That’s why the final step is always a quick human review.
Think of the AI as your incredibly fast but slightly naive assistant. It does 95% of the heavy lifting. Your job is to come in at the end for a final quality check, polishing the text to perfection.
This review only takes a few minutes, but it makes a world of difference. It’s the line between "subtitles are on" and "these subtitles are great."
Here's a quick checklist for your final polish:
- Proper Nouns: Did it catch the spelling of names, brands, and places correctly?
- Punctuation: Does the punctuation match the speaker's tone? A misplaced period can kill the delivery of a joke.
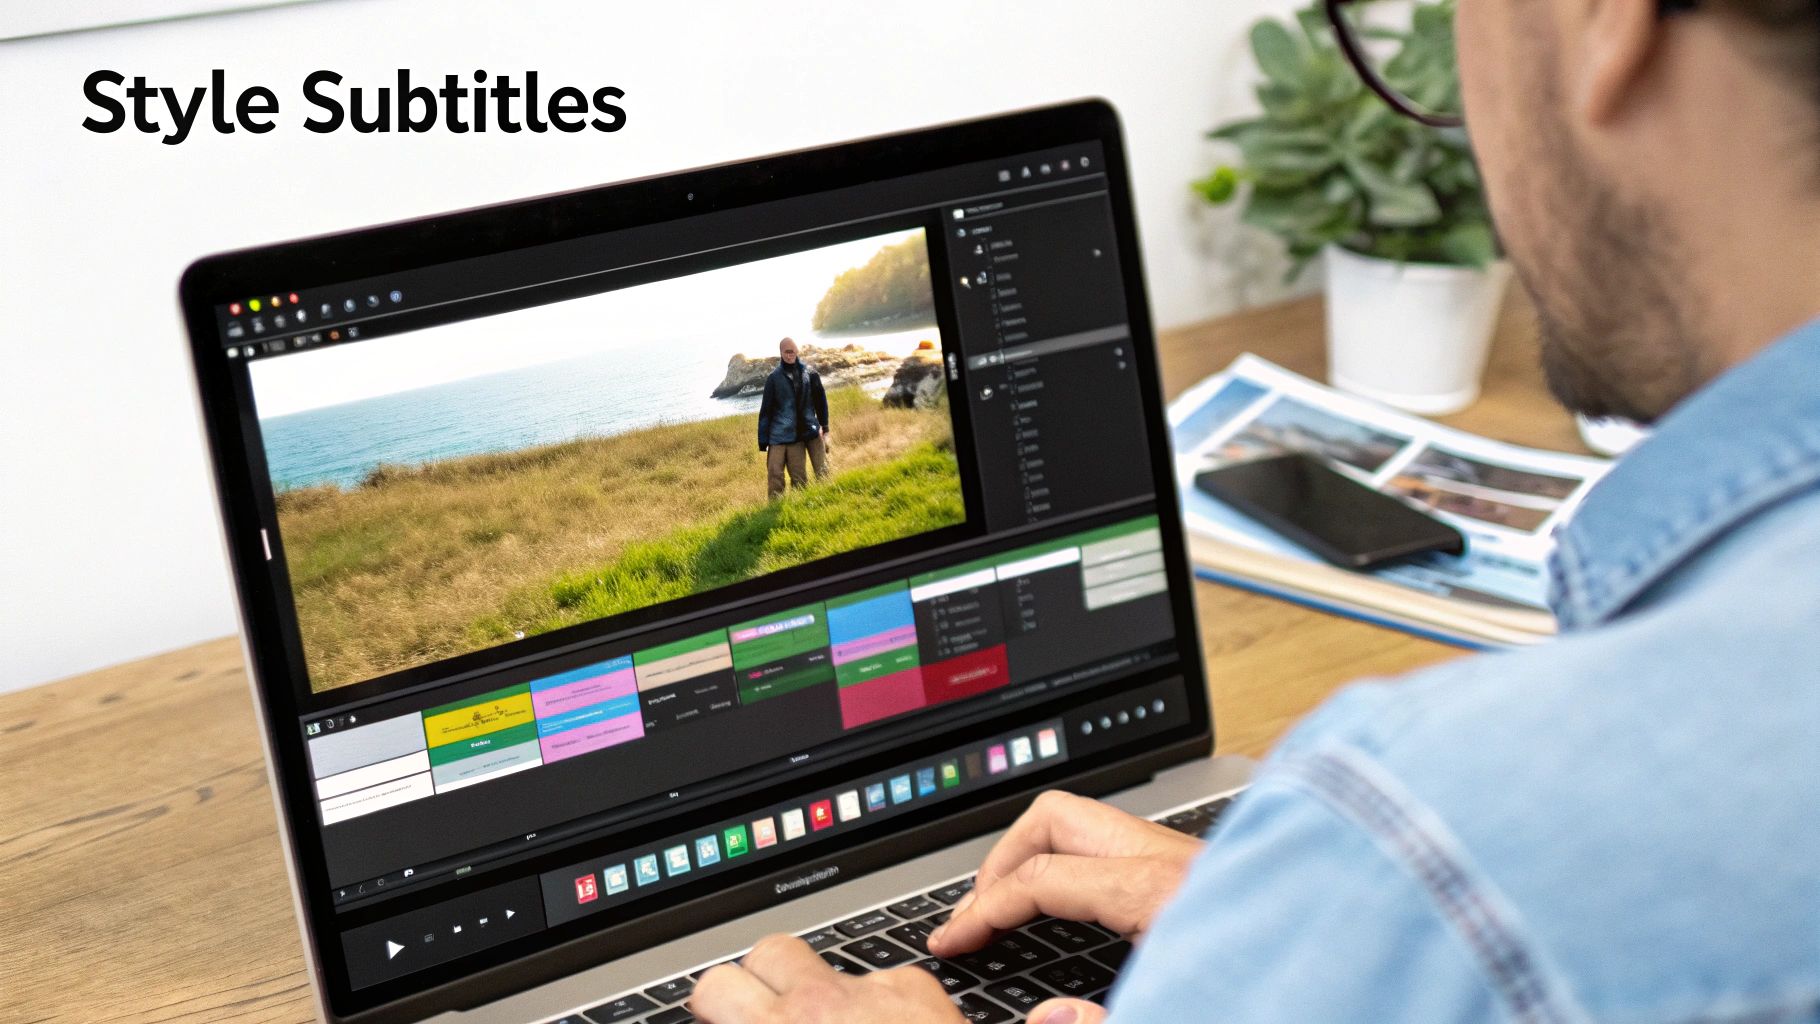
- Line Breaks: Are subtitles broken into logical, easy-to-read chunks? You want to avoid single words on a line or sentences that are too long for the screen.
This final touch shows your audience you care about the details and provides a genuinely seamless viewing experience. Once your SRT file is polished, you’re ready to learn how to add the SRT file to your MP4 and share your masterpiece with the world.
How to Add an SRT File to Your MP4 Video
You’ve already done the hard part—getting a clean, accurate SRT file. Now for the payoff: marrying it to your MP4 video. This is where you actually add the subtitles to your video, and you've got a couple of ways to go about it, depending on where your video is headed.
One path gives you "soft subtitles," which are perfect for local playback and let the viewer toggle them on or off. The other creates "hard subtitles," permanently burning the text right into the video frames so they're always there.
The Quick-and-Dirty Way: Soft Subtitles for Local Playback
Soft subtitles are the simplest method to add an SRT file to an MP4. This approach keeps the video and the subtitle files separate, but links them together when you hit play. It’s the go-to for watching videos on your own computer or sending a film and its captions to a friend.
The magic is all in the file name. Most modern media players, like the trusty VLC, are smart enough to look for and load a matching subtitle file automatically.
There’s just one crucial rule you have to follow for this to work:
- The MP4 video file and the SRT subtitle file must have the exact same name.
- Both files need to be sitting in the same folder.
So, if your video is called My_Awesome_Video.mp4, your subtitle file has to be My_Awesome_Video.srt. That's it. When you open the MP4 in a compatible player, the captions just show up.
This naming trick is a total lifesaver for quick reviews or personal viewing. It's a zero-effort way to get perfectly synced subtitles without messing with special software or re-rendering your entire video.
Tons of popular media players support this auto-load feature. Here’s how to import an .srt subtitle file into a video using some of the big ones:
- VLC Media Player: Make sure the .srt file has the same name as the video (e.g.,
movie.mp4andmovie.srt) and is in the same folder. VLC will load it automatically. Or, you can just drag the .srt file into the player while the video is playing. - MPV Player: The same naming rule applies. Alternatively, you can drag and drop the .srt onto the video window or use the
--sub-filecommand-line option if you’re a power user. - MPC-HC (Media Player Classic): If it doesn’t auto-load, just right-click on the video →
Subtitle Track→Load Subtitle, and then select the .srt file.
Going Permanent: Hard Subtitles for Universal Visibility
Sometimes, you need to know your captions will be seen, no matter what. This is where you add SRT to MP4 permanently, a process often called "burning in" or "hardcoding" the subtitles. The captions literally become a part of the video image, impossible to turn off.
This is the perfect move for social media clips that often autoplay on mute. It guarantees your message lands, with or without sound. You can pull this off with various free tools, but for anyone who needs a truly powerful solution, FFmpeg is the industry-standard command-line tool. It looks a bit technical at first, but the basic command to ffmpeg add srt to mp4 is surprisingly simple once you see it.
But hold on—if you don't even have that SRT file yet, your first step should be generating it. Using a dedicated MP4 to SRT converter will save you a world of pain by automatically transcribing your video's audio into a perfectly formatted subtitle file.
Putting Your Subtitles on YouTube and Social Media
Often, the smartest way to add subtitles to a video isn’t to permanently burn them into the file itself. Instead, you just upload your finished SRT file directly to the platform where your audience hangs out. This method, known as closed captions, gives your viewers control and is the gold standard for sites like YouTube, Vimeo, and LinkedIn.
You’ve already done the hard part—creating a perfect SRT file, maybe with an AI video caption generator or by hand-crafting it yourself. Now it's just a matter of getting it online. While every social media site has a slightly different interface, the basic idea is always the same: upload your video, then look for the captions or subtitles section to add your .srt file.
Adding Captions to Your YouTube Videos
YouTube is the undisputed king of online video, and thankfully, its system for adding subtitles is both powerful and pretty easy to use. Once your video is uploaded, you have two main routes for getting captions live. You can either bring your own custom SRT file or just clean up YouTube's own auto-generated captions to improve their accuracy.
Here’s my go-to workflow for how to add captions to videos on YouTube:
- Head over to your YouTube Studio and pick the video you want to work on.
- Find and click on "Subtitles" in the menu on the left.
- Hit "Add Language" and choose the language your subtitles are in.
- Now, look for the "Subtitles" column and click "Add."
- You'll see an option to "Upload file." Choose that, select "With timing," and upload your
.srtfile.
This method gives you total control, guaranteeing the polished captions you spent time creating are exactly what your audience sees. It’s a simple way to make your content look professional and feel accessible.
The real magic of uploading an SRT file is the flexibility. Viewers can toggle captions on or off, and you can offer subtitles in multiple languages just by uploading a different SRT file for each one. For reaching a global audience, this is a total game-changer.
The demand for this kind of multi-language support is absolutely blowing up. The global market for video subtitle translation is on track to hit around USD 2.5 billion by 2025, growing at a blistering 15% each year. This boom is a direct result of the sheer volume of content on streaming and social platforms trying to connect with diverse audiences. You can learn more about these video translation trends and see for yourself why multilingual captions are such a smart play.
Subtitles on Other Social Platforms
The good news is that the skills you pick up on YouTube are totally transferable. Platforms like Instagram, LinkedIn, and Vimeo all follow a similar logic, even if they call their features something different.
- Instagram Reels & TikTok: These platforms lean heavily on their built-in "auto caption" features that create text on the fly. For branded content where every word has to be perfect, it’s usually better to burn the subtitles directly into your video file before you upload.
- LinkedIn & Vimeo: These more professional-focused platforms let you upload a separate SRT file, just like you would on YouTube. Just poke around in the video settings after you upload to find the caption or subtitle options.
Learning how to add subtitles to video online free using the tools these platforms provide is one of the most valuable skills any modern content creator can have.
Your Top Subtitle Questions, Answered
As you start working with subtitles, you'll probably run into a few common questions. It's totally normal. Getting the right answers early on can save you a ton of headaches and help you get your captions just right.
Let's dig into some of the things people ask most often.
One of the first things to get straight is the difference between open and closed captions. It sounds technical, but it’s a simple distinction that completely changes how your audience interacts with your video.
Closed captions (CC) are the flexible ones. They live in a separate file, like the SRTs we've been talking about, so viewers can toggle them on or off. Open captions, on the other hand, are baked right into the video itself—they're permanent and can't be turned off. A good rule of thumb? Use closed captions for platforms like YouTube where viewers expect control. For social media clips on Instagram or TikTok, use open captions so they show up automatically, even when videos are on mute.
What if My Subtitles Are Out of Sync?
There's nothing more frustrating than subtitles that show up too early or too late. It can make a great video completely unwatchable. The good news is, it's almost always a fixable timing issue in the SRT file's timecodes.
For a quick fix while you're watching, most desktop media players like VLC have a handy keyboard shortcut to nudge the subtitles forward or backward (usually the 'G' and 'H' keys). But for a permanent fix, you'll want to grab a free tool like Subtitle Edit. This lets you shift all the timestamps at once and re-save the corrected SRT file. This is a must-know skill when you're learning how to add an SRT file to an MP4 and want it to look professional.
Can I Add Subtitles in Different Languages?
Yes, you can—and you absolutely should if you want to grow your audience internationally. This is where platforms like YouTube and Vimeo really shine.
The process is surprisingly simple. All you need is a separate, properly named SRT file for each language. For instance, you’d have my-video.en.srt for your English subtitles and my-video.es.srt for Spanish. When you upload both, the video player automatically creates a menu so viewers can pick their language. It's a huge win for accessibility and reach.
If you're just getting started with this, our guide on how to get an accurate video to transcript is the perfect first step.
Tired of manually syncing subtitles? MeowTxt uses top-tier AI to turn your videos into perfectly timed SRT files in just a few minutes. Just upload your file, and our video caption generator does the heavy lifting. Try MeowTxt for free and get your first 15 minutes of transcription on us!


